10 Tips To Isolate The Subject Adding Visual Impact
We live in an era of being over-exposed to visual content, in the form of photos, videos and infographics. We want our favourite images to be noticed and enjoyed by others too.
Capturing and sharing images has been democratised by the smartphone and made it really easy to share a bad photo. The next step to transition from a happy snap to an engaging, impactful image is - make it instantly obvious what you want the viewer to notice first.
One of the best strategies in my recent article, '3 steps to capture a WOW photo on your smartphone' the second step was – clearly communicate the subject or story.
Here's the 10-tip list:
Identify the subject
Remove background clutter BEFORE the photo
Remove background clutter AFTER the photo
Blur the background to remove distractions
Shoot from a lower angle to isolate the subject against the sky
Use lighting to place a spotlight on the subject
Darken the background
Get closer to the subject
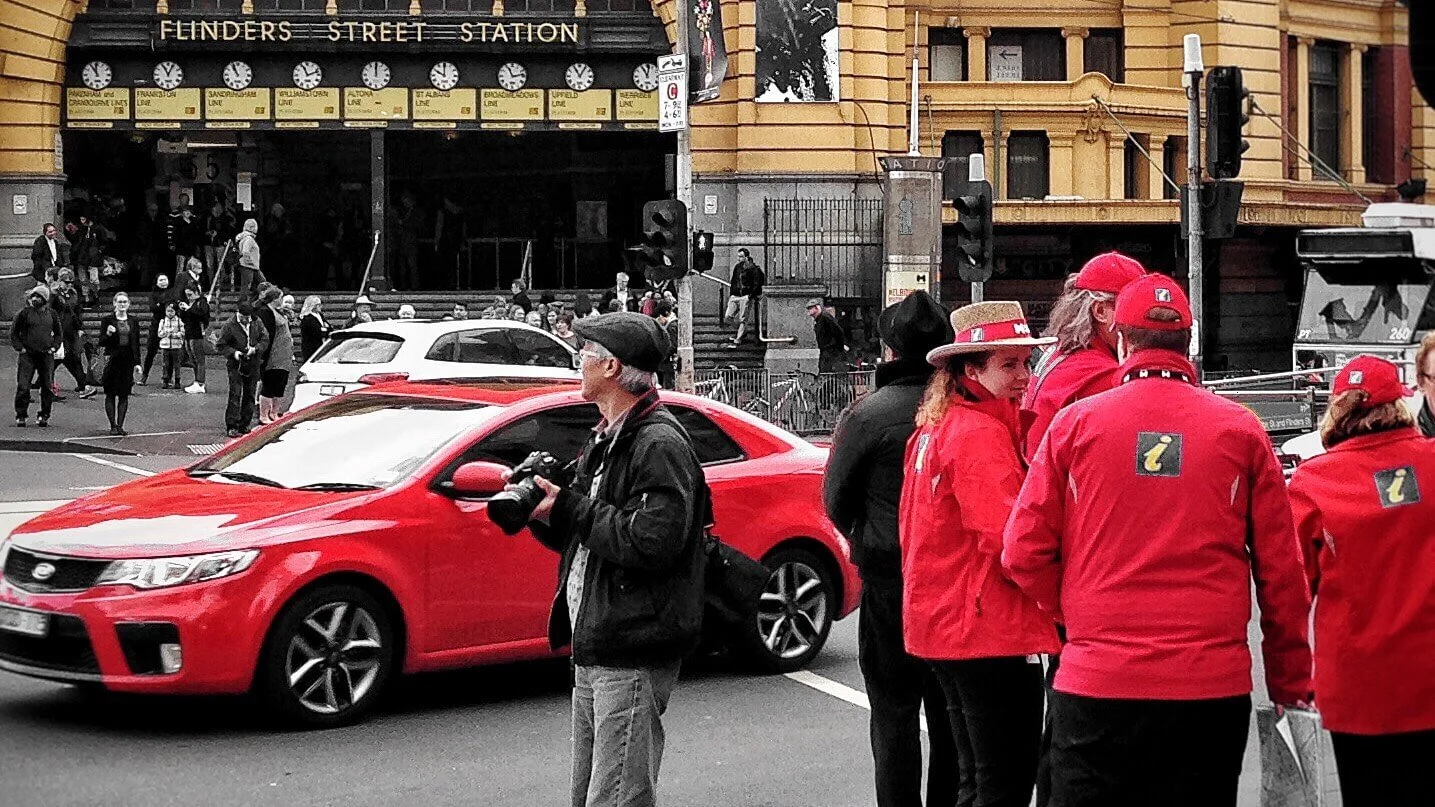
Use selective colour to make your subject stand out
Simple, single colour or texture background
Related YouTube video on the topic of isolation
Above is a video and podcast as part of a 30-day Live YouTube series where I discussed different photo compositional techniques and tools. Isolation was a popular video as it is one that is easily applied in your preparation and creation of the photo.
1. Identify the subject
Have you noticed that the most professional-looking images are 'clean,' distraction-free? As a viewer, your attention can be pulled around all over the scene, looking at distractions or worse yet, be directed by lines leading your eye out of the photo!
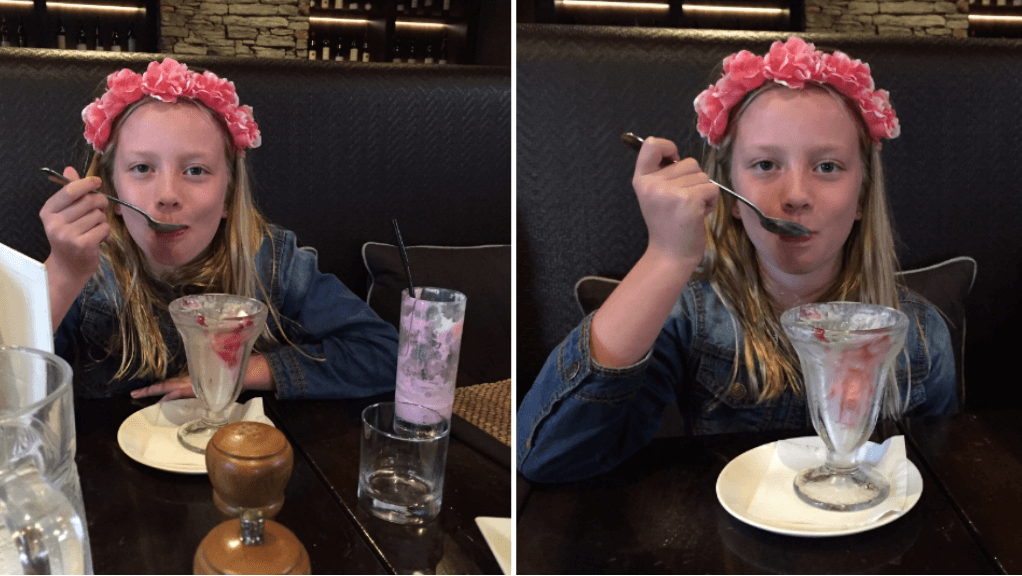
Take the time to either remove distracting background elements, such as glasses on the table or shoot from an alternative angle.
The first step in my photo checklist is what is motivating me to lift my smartphone to take the photo? This helps you break down the scene and make it more obvious what you are trying to communicate or share.
The subject could be a person, their expression, their attire, the context of where they are or their activity.
Identifying the motivation or story helps tremendously to isolate the subject and identify appropriate inclusions in the rest of the image to provide context.
The second step is experimenting and deciding the angle and perspective, and how close to capture or crop the image.
2. Remove background clutter BEFORE the photo
3. Remove background clutter AFTER the photo
Sometimes it is not practical to move objects, you had to get a quick shot, or you realised, when reviewing the image, there was something in the shot that you did not realise at the time.
Using the Snapseed photo editing app by Google or Retouch by Brain Fever Media, you can easily remove objects in the photo. Yes, really – just like Photoshop. Using the healing or cloning tool, you simply swipe over the object you want to remove, and it will fill in the area with the same content surrounding it.
4. Blur the background to remove distractions
I have written an article on how to blur the background to really make your photos pop off the screen. Why does it work? It isolates the background and reduces our attention being distracted by the unwanted content in the image.
In my article - Blur the background on your Android & iPhone photos, I explain the different modes available in various smartphones, shooting techniques and three different photo editing apps to blur the background on any image captured on an iPhone or Android smartphone.
5. Shoot from a lower angle to isolate the subject against the sky
This is a very simple technique, not requiring any removal of objects or photo editing.
Simply getting lower than the subject and shooting upwards can separate the subject from the ground. This works particularly well if there is limited contrast (variation) in colour.
Isolate the subject by shooting from a lower angle
6. Use lighting to place a spotlight on the subject
A location where there is a sliver of light hitting the subject can produce an ethereal mood.
This can also be reproduced in food photography on your smartphone by holding two boards and letting directional light pass between them.
Some Text Here. Lorem ipsum dolor sit amet, consectetur adipiscing elit. Etiam semper purus eu mi blandit ullamcorper.
7. Darken the background
Our eye is attracted to objects in sharp focus, vivid colours and bright parts of an image. Hence, darkening the background can also isolate the subject. This can be achieved in two easy ways:
Place a blackboard behind the subject
Use the Snapseed photo editing app to selectively darken sections of the photo. Go to Tools > Brush > Exposure > adjust to -10 and swipe over areas to darken
the background to isolate the subject in your smartphone photos
8. Get closer to the subject
Holding the smartphone lens close to the subject not only fills the frame, but it also makes it proportionally appear larger. This technique isolates the subject from everything else, as they appear smaller, the further away from the lens they are.
9. Use selective colour to really make the subject stand out
An app like PicsArt allows you to convert the image to black and white, then reveal the colours that you want to make the subject stand out. Open an image in Picsart, then go to Effects > Colours > Colour Splash, then drag the circle onto the colour you would like to highlight.
What I love about this app is that you can add a second and third colour to include. If some extra bits are included that you want to remove, tap on the eraser on the top of the screen, wipe over the sections to return them to black and white and tap on the tick mark.
Lastly, hit Apply, then the arrow on the top right corner to save or share instantly.
10. Simple, single colour or texture background
Limiting the colours in a photo to two or three colours can help create balance, visual tension, juxtaposition, and make either the main visual anchor or background stand out. Selective colour is one of the most effective ways to isolate a visual element from the rest of the content in the frame.
Conclusion
We have covered some smartphone-specific techniques and photo editing apps that can assist in isolating the subject, before and after capturing an image.
The number one takeaway I want you to remember is to always consider your motivation for taking the photo. This makes it so much easier to identify and isolate the subject to create a more impactful image.
More articles:
Mastering the Art of Visual Tension in Smartphone Photography
Change Viewpoint & Perspective to Instantly Improve Your Photos
30 Tips to Create Stunning Silhouette Photos on Your Smartphone
Add Energy To Photos Using the Dutch Angle Composition Technique
Capture A Subject 9 Different Ways To Discover Your Creativity
Use the Snapseed Expand Tool to Add Extra Space in Your Image to Crop
The Rule of Thirds – Grid Lines on Your Smartphone Explained
Street Art Photography Tips for your iPhone and Android Smartphone